This post may contain affiliate links. Please read our disclosure policy.
I was craving the flavors and comfort of pot roast this week, but really wasn’t interested in eating red meat so I created this Pot Roast Chicken—and dare I say it’s just as delicious and comforting as the classic beef version!
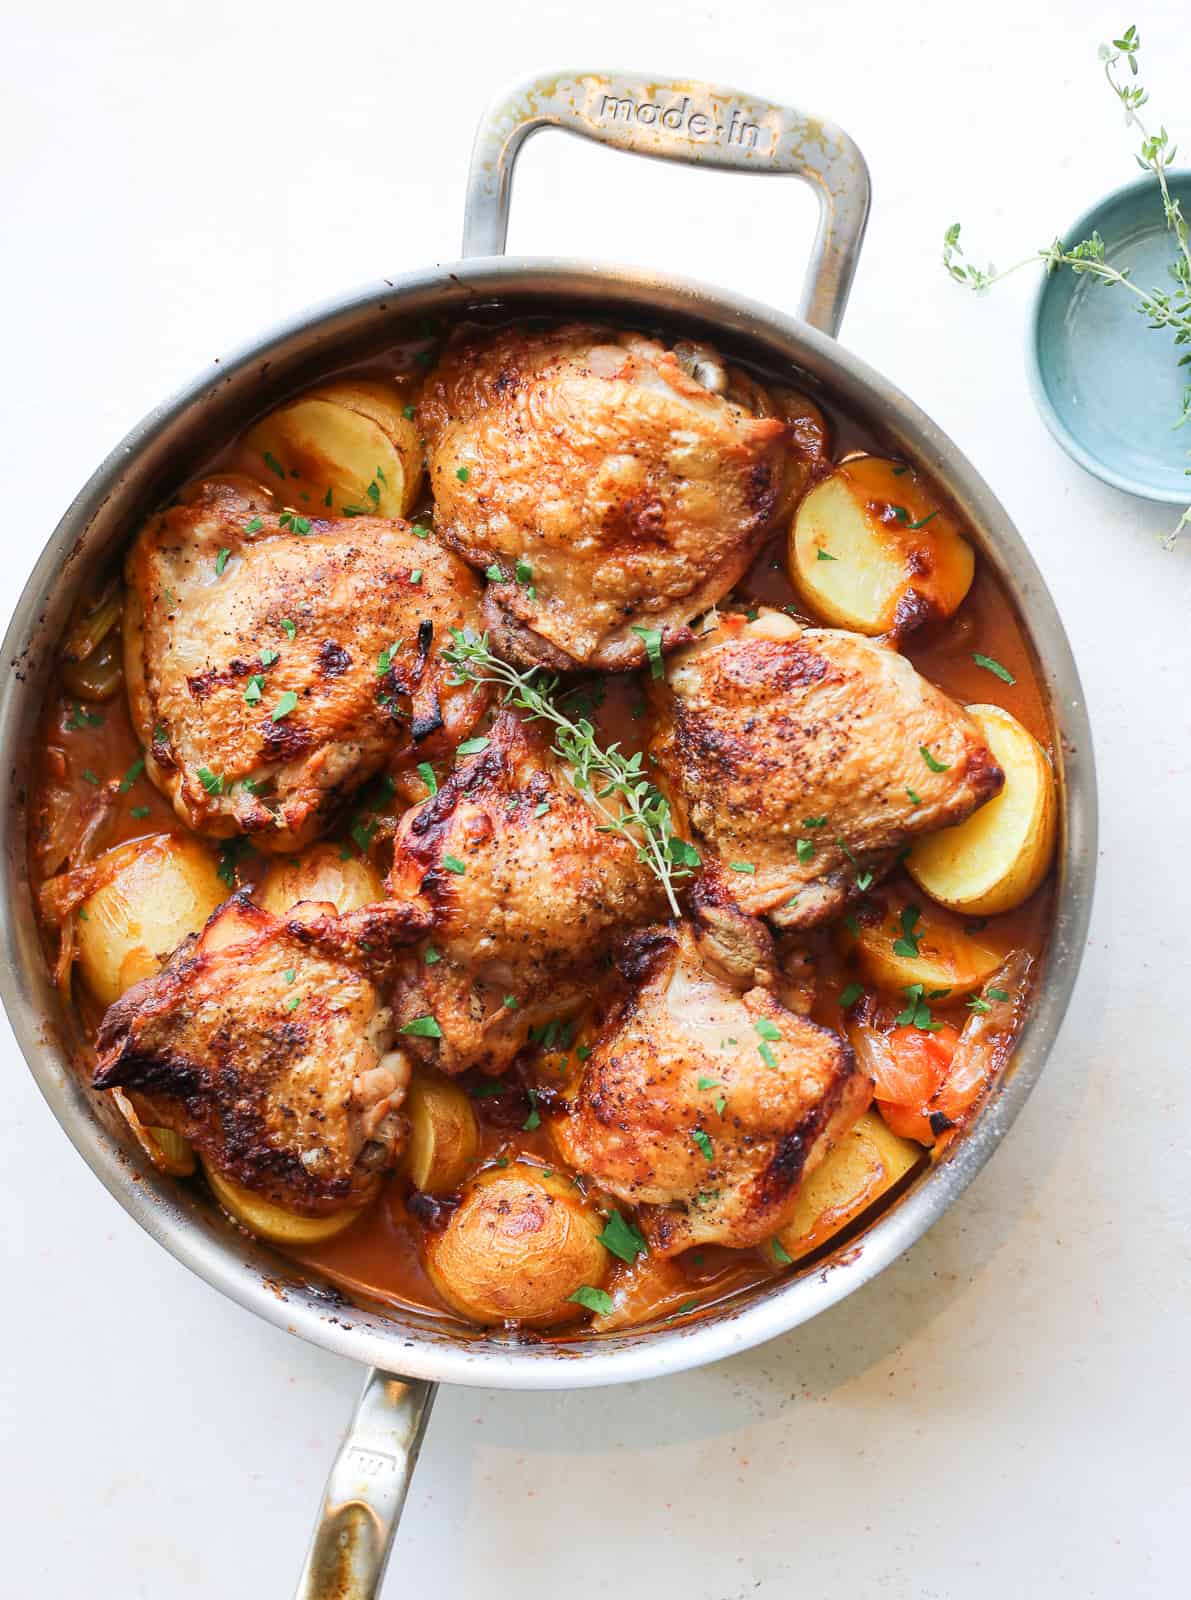
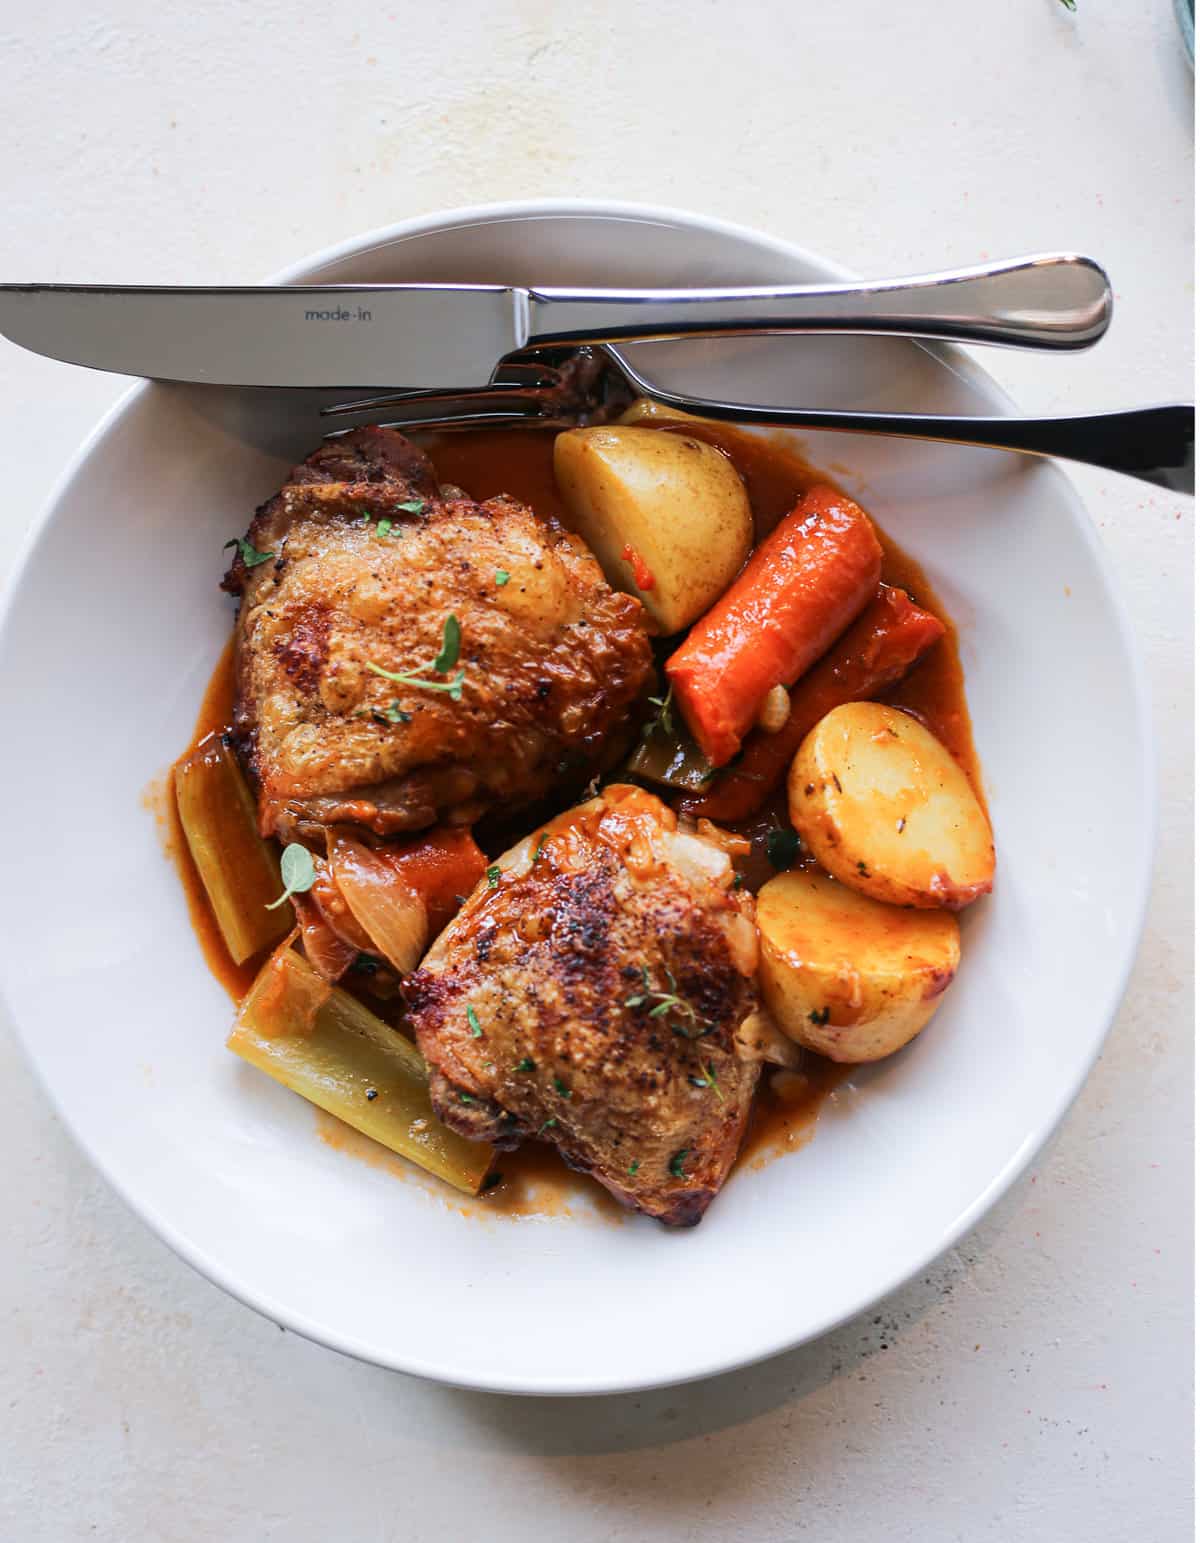
In this recipe, crispy chicken thighs sit right on top of delicious gravy-coated veggies including potatoes, celery, and carrots for a cozy dish that the whole family will love. I like to use bone-in, skin on chicken thighs because they’re nearly impossible to overcook and the skin gets shatteringly crispy. While it takes some time to cook in the oven, this recipe is mostly hands-off, leaving you with plenty of time to tackle emails, house chores…you know, all the things. Pop this on the table on a cold night and this one-pot meal will certainly satisfy you and yours.
ingredients:
- Bone-In, Skin-On Chicken Thighs
- Kosher Salt
- Freshly Ground Black Pepper
- Extra Virgin Olive Oil
- Yellow Onion
- Carrots
- Celery
- Garlic
- Dijon Mustard
- Tomato Paste
- Smoked Paprika
- Low-Sodium Chicken Broth
- Arrowroot Flour
- Apple Cider Vinegar
- Fresh Thyme Sprigs
- Bay Leaves
- Yukon Gold Potatoes
- Fresh Parsley
step-by-step:
step one: preheat the oven
Preheat the oven to 350°F.
step two: season the chicken
Pat the chicken dry and season on both sides with salt and pepper.
step three: cook the chicken
Heat the olive oil in an oven-safe large, deep skillet over medium-high heat. Working in batches, add the chicken and cook until golden brown on each side, about 2 minutes per side. Transfer to a plate and set aside.
step four: cook the veggies
Add the onions, carrots, celery, and garlic and cook, stirring, for 1 minute.
step five: build the flavor
Add the mustard, tomato paste, and paprika and stir until well combined.
step six: make a quick gravy
In a small bowl, whisk together the chicken broth and arrowroot flour until well combined. Slowly pour in the broth mixture and whisk constantly until well combined.
step seven: add the herbs and bake the chicken
Remove from the heat and stir in the apple cider vinegar, thyme, and bay leaves. Place the chicken on top of the veggies, skin side up. Cover, transfer to the oven, and bake for 40 minutes.
step eight: increase the oven temperature
Remove from the oven and increase the heat to 400°F.
step nine: add the potatoes and continue to cook
Remove the cover and carefully nestle the potatoes into the sauce, tucking them under the chicken (just be delicate moving around the chicken so the skin doesn’t fall off!). Transfer back to the oven and bake, uncovered, until the skin is a deep golden-brown and crisp, the potatoes are tender, and the sauce has thickened, about 30 minutes.
step ten: garnish and serve
Remove from the oven and let cool for 10 minutes prior to serving. Garnish with parsley, if desired, and enjoy!
This recipe would work with a combination of chicken thighs and legs. Using bone-in, skin-on meat makes a big difference though! The skin gets so nice and crispy and the bone-in cuts help to prevent the meat from drying out during the long bake.
You can use regular all-purpose flour. If you want to keep it gluten-free, cassava flour will work too!
For best results, reheat any leftovers in an oven-safe dish at 350°F until warm throughout, 8 to 10 minutes!
When you’re craving a homey, nourishing dinner for you and your family, I hope you’ll give my Pot Roast Chicken a try! Comment below and let me know what you think of it!
looking for more cozy chicken recipes? try these!
Herby Chicken and Orzo Skillet
One-Pan Roasted Chicken with Lemony White Beans
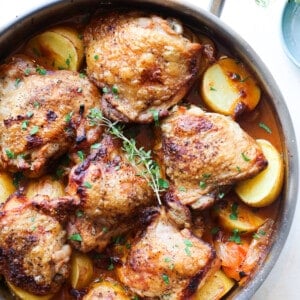
Pot Roast Chicken
Ingredients
- 3 pounds bone-in, skin-on chicken thighs
- 1 teaspoon kosher salt
- 1/2 teaspoon freshly ground black pepper
- 2 tablespoons extra virgin olive oil
- 1 large yellow onion, halved and sliced
- 3 large carrots, cut into 2-inch pieces
- 4 stalks celery, cut into 2-inch pieces
- 2 garlic cloves, thinly sliced
- 2 teaspoons Dijon mustard
- 1 tablespoon tomato paste
- 1/4 teaspoon smoked paprika
- 1 cup low-sodium chicken broth
- 1 tablespoon arrowroot flour
- 2 tablespoons apple cider vinegar
- 5-7 fresh thyme sprigs, tied into a bundle using kitchen twine
- 2 bay leaves
- 1 pound Yukon gold potatoes, cut into 2-inch pieces
- chopped fresh parsley, to garnish (optional)
Instructions
- Preheat the oven to 350°F.
- Pat the chicken dry and season on both sides with salt and pepper.
- Heat the olive oil in an oven-safe large, deep skillet over medium-high heat. Working in batches, add the chicken and cook until golden brown on each side, about 2 minutes per side. Transfer to a plate and set aside.
- Add the onions, carrots, celery, and garlic and cook, stirring, for 1 minute.
- Add the mustard, tomato paste, and paprika and stir until well combined.
- In a small bowl, whisk together the chicken broth and arrowroot flour until well combined. Slowly pour in the broth mixture and whisk constantly until well combined.
- Remove from the heat and stir in the apple cider vinegar, thyme, and bay leaves. Place the chicken on top of the veggies, skin side up. Cover, transfer to the oven, and bake for 40 minutes.
- Remove from the oven and increase the heat to 400°F.
- Remove the cover and carefully nestle the potatoes into the sauce, tucking them under the chicken (just be delicate moving around the chicken so the skin doesn’t fall off!). Transfer back to the oven and bake, uncovered, until the skin is a deep golden-brown and crisp, the potatoes are tender, and the sauce has thickened, about 30 minutes.
- Remove from the oven and let cool for 10 minutes prior to serving. Garnish with parsley, if desired, and enjoy!
Nutrition
Nutrition information is automatically calculated, so should only be used as an approximation.

This dish is a household favorite for us! Delicious flavors. I prefer to cook the potatoes throughout the whole cooking time and before on their own too- otherwise they are not crispy enough.
I’ve made this recipe before and liked it, so I wanted to try it again. But for some reason you gave two ingredients lists, one with quantities one without. When I got to the point of execution I had the list without quantities on my screen and didn’t know there was a second one. I had seen it before when scrolling through all the nonsense text that you and everyone else includes in online recipes, but when I saw the list without the quantities I assumed that I had misremembered seeing them before and proceeded to cook, guessing how much to put. Why did you include two lists? It’s a shame, because the precise recipe is very good.
Totally hear you — that would be frustrating in the moment! The reason you see two lists is for SEO purposes. The first ingredient list (without quantities) helps search engines understand the recipe so people can actually find it on Google, and the second list in the recipe card is the one meant for cooking with the measurements. It’s one of those behind-the-scenes things food bloggers have to do so recipes stay free and discoverable online.
Glad to hear you enjoyed the recipe, even with a little guessing involved! 😊
Best Defined Dish recipe ever!
What a compliment! Thanks for the review!
I want to use a whole chicken cut up. Not just thighs, will this still work?
yes that will work great here.
When can I add the potatoes to the recipe? It isn’t stated when
Hi Sally- it’s in step 10 🙂
Can I make this in slow cooker?
I don’t recommend this one int the slow cooker, only because in the oven the tops of the chicken thighs get nice and browned and kinda crispy!
Delicious
Can this dish be prepared with skinless chicken thighs?
yes- just know you won’t get the crispy skin on top, and the cook time will be less!
How much less time with boneless skinless chicken thighs? I’m so excited to make this recipe for dinner today but I’m at the grocery store and they don’t have bone-in thighs with skin. 🙁
Hi Eva- I haven’t yet tested this recipe with boneless thighs- but this recipe has quite a long cook time, so I worry it just won’t turn out quite the same!
Can this me made with chicken thighs (no bone)?
I haven’t yet tried it with just boneless thighs, but think it would still be good.