This post may contain affiliate links. Please read our disclosure policy.
These Grain-Free “Hostess” Cupcakes are a bit of a labor of love, but gosh are they worth it. As we head back to school, I’m nostalgic for the kinds of snacks that used to fill my lunchbox.
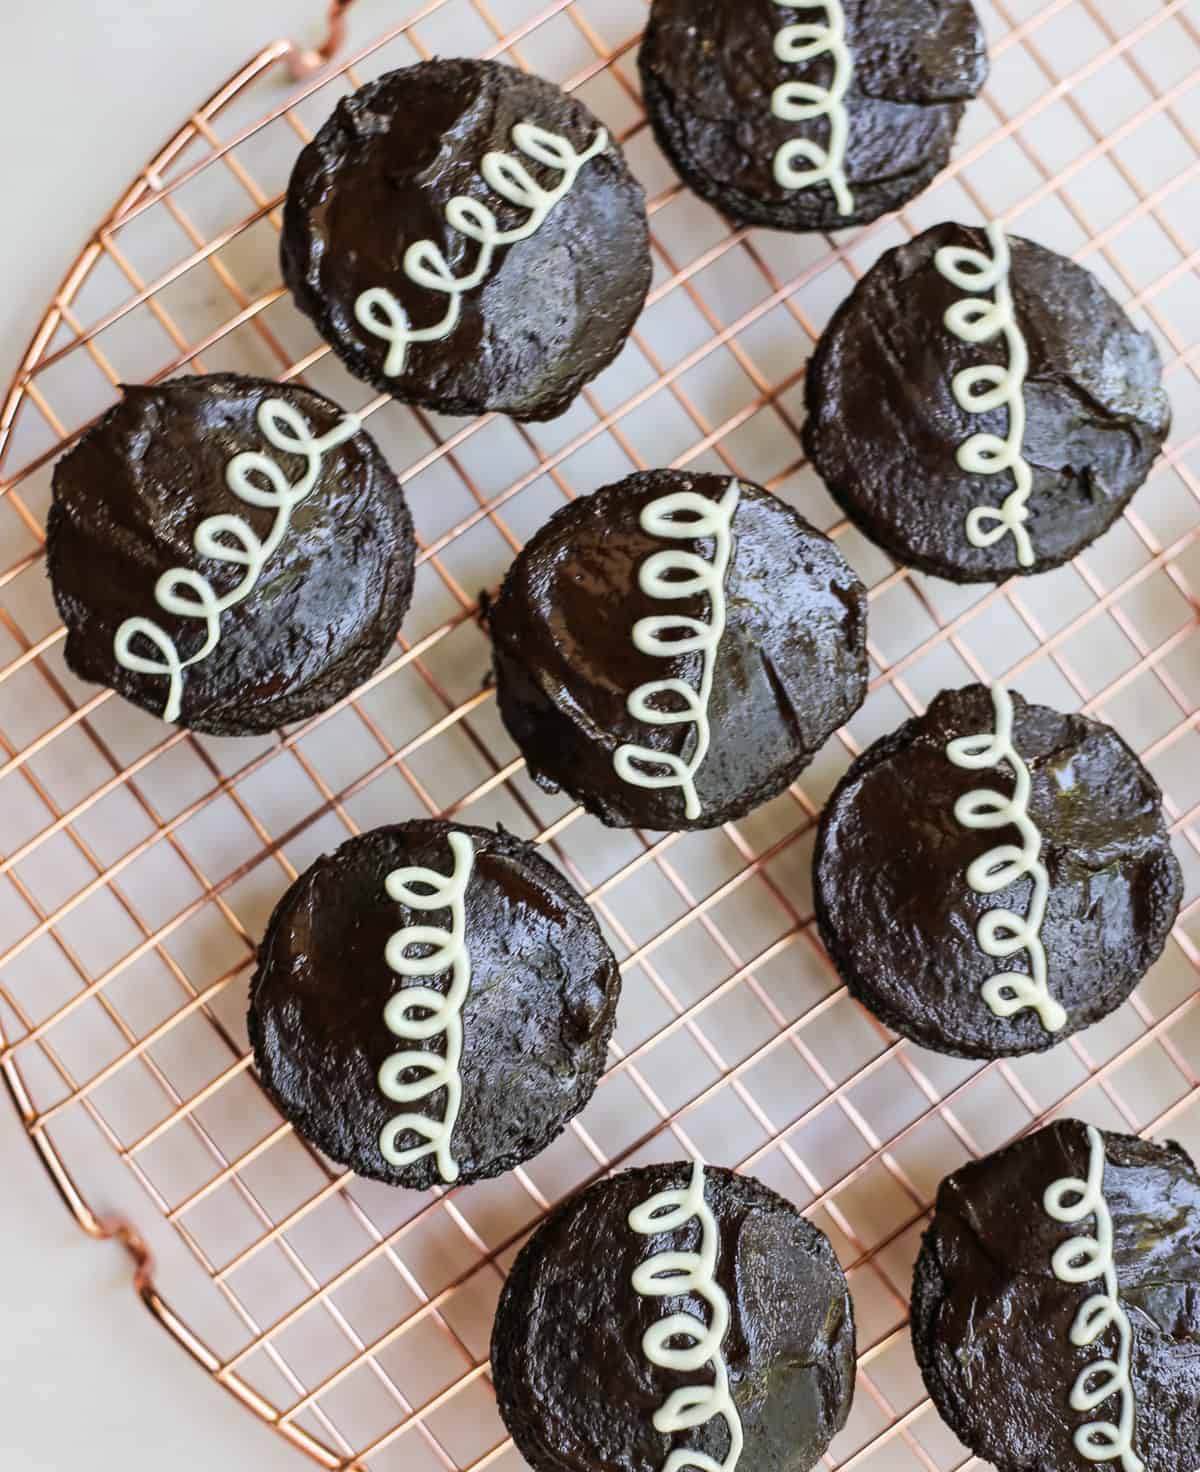
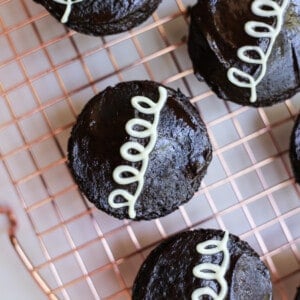
If you are not familiar, a “Hostess” Cupcake is a packaged devil’s food cupcake, filled with a vanilla marshmallow creme and topped with chocolate ganache then a signature white chocolate swirl. We recreated the childhood favorite but made it grain and refined sugar-free. They are rich and deeply chocolatey and even better the next day.
As far as ingredients go, for paleo chocolates, I like using Hu Kitchen, Enjoy Life Foods, or Lily’s Sweets. But, a paleo-marshmallow creme is definitely a bit harder to find, so you can leave out the filling altogether if you prefer. Regardless, this is a great Paleo chocolate cupcake base, so you can add whatever icing or ganache you wish to really have fun making your own creation.

Three little notes before you begin baking these Grain-Free “Hostess” Cupcakes:
- Don’t skip whipping the eggs for the full 2-3 minutes. You need to whip some air into the eggs so that the cupcakes aren’t dense.
- Don’t skip the espresso powder! It really brings out the chocolate flavors.
- The cupcakes will not have a domed top like traditional cupcakes, so they resemble the original version and they’re easier to ice.
Looking for more dessert recipes? Check these out!
No-Bake Chocolate Peanut Butter Cookies
GoGo’s Oatmeal Chocolate Chip Bars

GoGo’s Russian Teacakes
Ingredients
- ½ cup unsalted grassfed butter, softened (or 1 stick)
- 1/3 cup coconut sugar
- 1 teaspoon vanilla extract
- ½ cup tapioca flour
- 1 ½ cups almond flour
- ¼ teaspoon kosher salt
- ½ cup walnuts or pecans, finely chopped
- ½ cup powdered sugar
Instructions
- In a medium mixing bowl using a hand-held mixer or in the bowl of a stand mixer fitted with the paddle attachment, cream the butter, coconut sugar, and vanilla extract together until pale and fluffy, 2 to 3 minutes, scraping down the sides as needed.
- Add the tapioca flour, almond flour and salt and mix on low until just combined. Add the chopped walnuts and mix once more on low until combined.
- Line a large baking sheet with parchment paper. Form the cookie dough into 1-inch balls and place on the prepared baking sheet. Transfer to the fridge and chill until ready to bake or while you preheat your oven, at least 30 minutes.
- Preheat the oven to 350℉. Transfer the chilled cookie dough balls to the oven and bake until the cookies are golden brown and firm, about 12 minutes.
- Remove from the oven and let cool enough to handle, about 5 minutes. Pour the powdered sugar in a shallow bowl.
- Very gently roll each ball in the powdered sugar to coat and set back on the baking sheet. Continue until all have been rolled and let them completely cool before giving one more roll in the powdered sugar.
- Serve and enjoy!
Nutrition
Nutrition information is automatically calculated, so should only be used as an approximation.
Grain-Free “Hostess” Cupcakes
Ingredients
- Coconut oil cooking spray
FOR THE CAKE:
- ½ cup coconut oil – room temperature
- ¼ cup dark chocolate – chopped I used Hu Chocolate
- ¼ cup unsweetened full-fat coconut milk
- 2 tsp. apple cider vinegar
- 2 large eggs
- ½ cup coconut sugar
- ⅓ cup maple syrup
- 1 Tbsp. vanilla extract
- 2 tsp. instant espresso powder
- 1 1/4 cup superfine almond flour
- ¼ cup tapioca flour
- ½ cup Dutch processed cocoa powder
- 1 1/4 tsp. Baking soda
- ½ tsp. salt
FOR THE GANACHE:
- ½ cup dark chocolate – chopped I used Hu Kitchen
- ⅓ cup unsweetened full fat coconut milk
- 1 Tbsp. coconut oil
FOR FILLING:
- 1 cup marshmallow creme
FOR ASSEMBLY:
- 4 oz. white chocolate chips – I used Lily’s Sweets
- 2 tsp. coconut oil
Instructions
- Preheat the oven to 350. Spray coconut oil cooking spray into 12 muffin tins, making sure each of the tins are well coated.
- In a microwave-safe bowl, add the coconut oil and the chocolate chips. Microwave in 30 second increments, stirring in between each time until the coconut oil and chocolate have just melted and are smooth. Alternatively, you can do this over the stove on a double boiler, but the microwave method is quicker. Let the mixture cool a bit so it doesn’t curdle the eggs.
- In a small bowl, whisk together the coconut milk and the apple cider vinegar to make the dairy-free buttermilk. Set aside.
- In the bowl of a stand mixer, or a medium mixing bowl using an electric beater, add the eggs. Beat on medium-high for 2-3 minutes, until the eggs are pale yellow and frothy. Add the coconut sugar, maple syrup, vanilla extract, and espresso powder and mix on low. With the mixer running, slowly stream in the coconut milk mixture. Mix until just combined. Add the cooled coconut oil and chocolate mixture to the bowl in a steady stream. Beat for 1-2 minutes on medium-low until well combined and smooth.
- Scrape down the sides, and add the almond flour, tapioca flour, cocoa powder, baking soda, and salt incrementally. Mix until just combined. The batter will be thick but smooth, like the texture of brownie batter.
- Transfer the batter to the prepared muffin tins, spooning in ¼ – ⅓ cup of batter into each tin, being careful not to overfill them. Tap the muffin tin on the counter to get excess air bubbles out, and transfer to the middle rack of the oven,
- Bake for 15-18 minutes, or until a toothpick comes out clean. Once baked, allow the cakes to cool entirely before icing.
FOR THE GANACHE
- Meanwhile, make the ganache. In a microwave-safe bowl, add the coconut milk, chopped chocolate, and coconut oil. Microwave for 30 second increments, stirring in between each cooking cycle. Repeat, melting in 30 second increments, until the ganache is smooth, shiny, and thick, about one minute total. Set aside.
FOR ASSEMBLY:
- If filling with marshmallow creme, transfer the marshmallow creme to a separate piping bag with a medium circular tip. Remove the cupcakes from the tins, and transfer to a wire rack. To fill each cupcake, press the piping bag filled with marshmallow creme into the top of the cupcake (the chocolate ganache will cover it as long as you do not overfill). Fill with about a tablespoon of the creme, and set back on the rack, top side up. Repeat with all the cupcakes.*if you do not have a piping bag: see note.
- Spoon about a tablespoon of the chocolate ganache over each cupcake, spreading so that it covers the cake but leaves a bit of room on the edges. Repeat. Set aside for 10 minutes to allow the ganache to set.
- In a microwave-safe bowl, add the white chocolate and the coconut oil. Microwave for 30 second increments, stirring in between each cooking cycle. Once the chocolate is melted and smooth, allow it to cool a bit before transferring to a piping bag with a small circle tip. Alternatively, you can do the same in a plastic zip top bag. Just cut a small tip off of the corner to make a make-shift piping bag.
- To finish, decorate each cupcake with a “squiggle” of white chocolate down the middle of the cake. To make the pattern, make loops with the white chocolate, like you are writing “L’s in cursive.
- Transfer to the fridge to set and enjoy! Consume within 1-2 days of baking.
Notes
Nutrition information is automatically calculated, so should only be used as an approximation.


YUM! While mine didn’t look quite as pretty, they were relatively easy & DELISH!
I made these last night, SO GOOD! I am at high altitude and they sank a bit in the middle, do you know how I can alter it a bit to make sure that doesn’t happen next time? Thanks!!!
I am so glad you enjoyed them. To be honest– I know nothing about baking at a high-altitude :/