
This post may contain affiliate links. Please read our disclosure policy.
So, you’ve just RSVPed to a Friendsgiving party and are pondering what delicious dish to bring. Go ahead and nominate yourself to bring this Texas-Style Mac and Cheese!
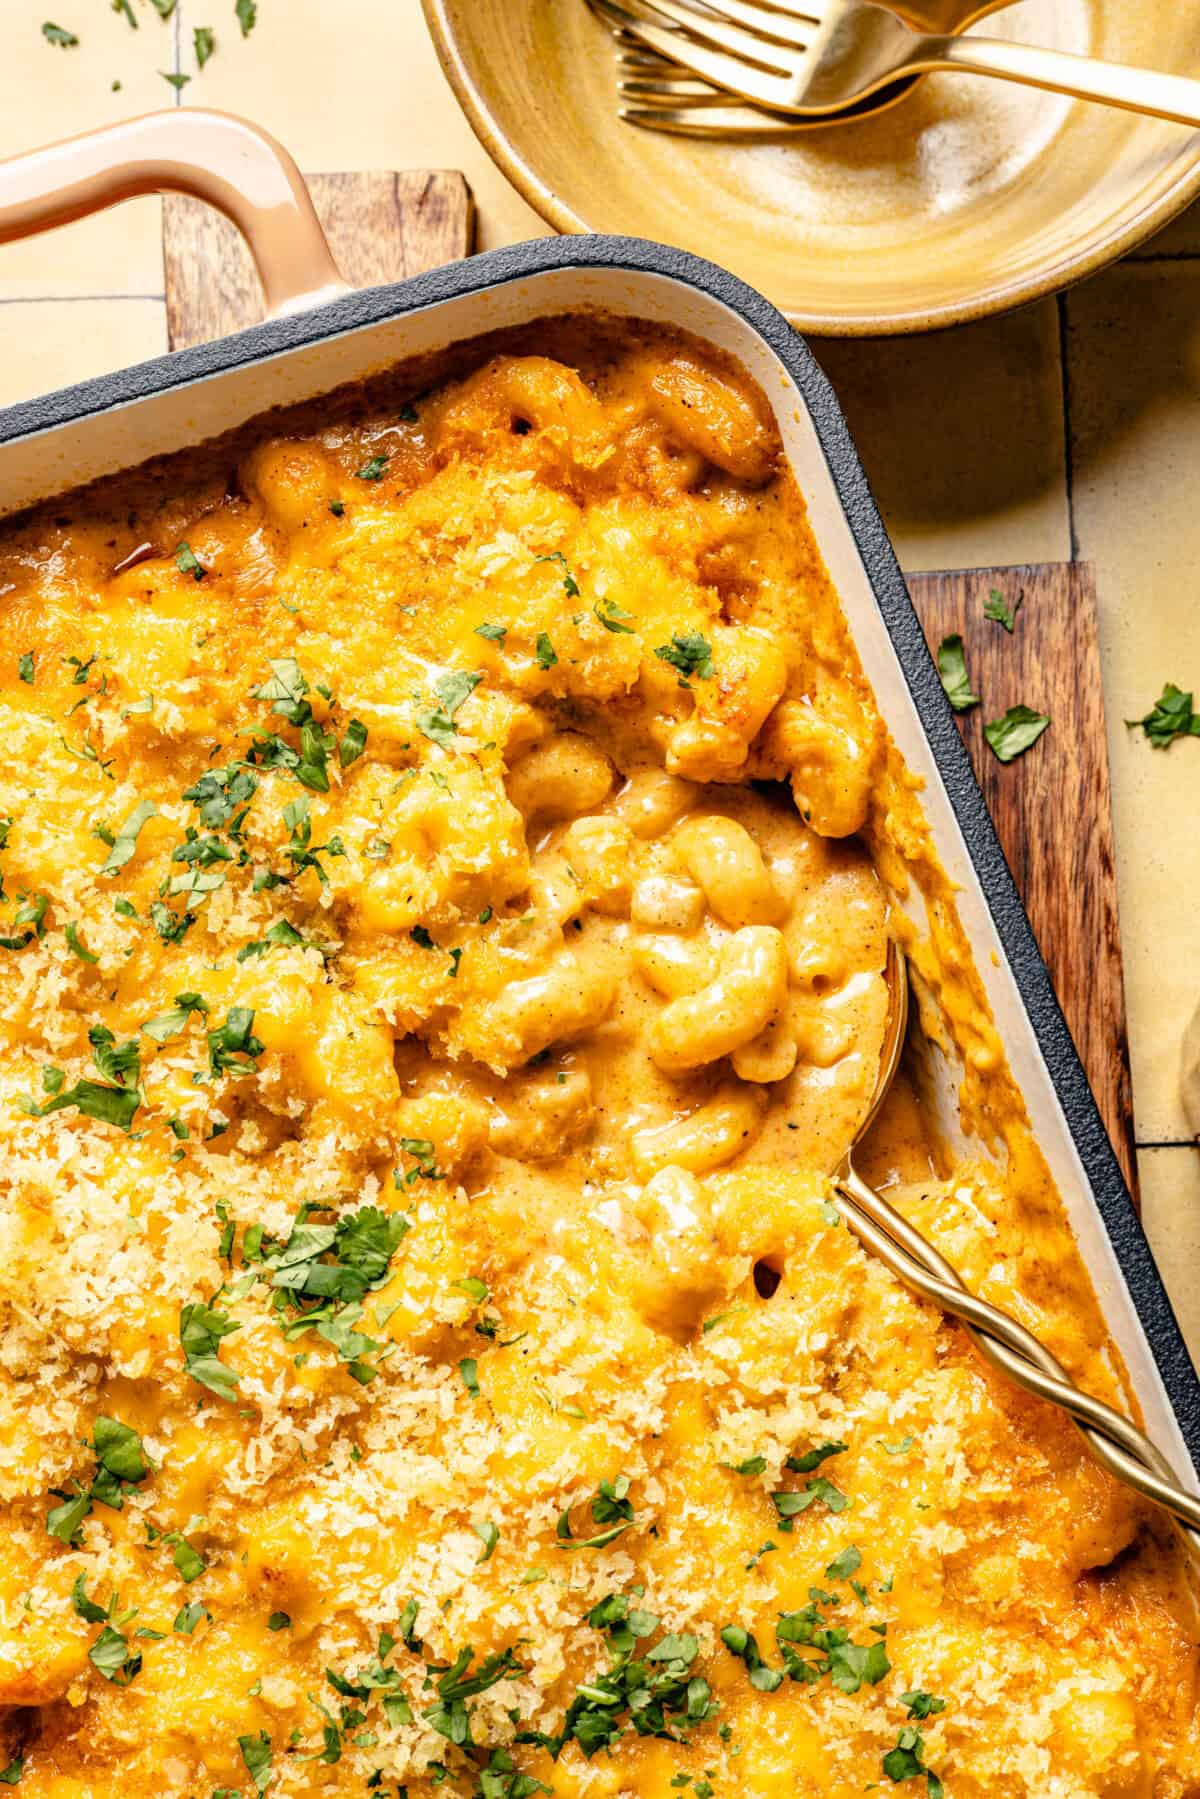
First off, everyone loves mac and cheese, so you’ve already got one thing in the bag. But don’t settle for just any old-fashioned mac and cheese. You’re going to bring something that makes people raise their eyebrows and ask, “Whoa, what’s in this?”
I call this my Texas-Style Mac and Cheese, and why? Well, just take a look at the ingredients! Two little tweaks give this classic a little extra flair without overpowering the flavors you know and love. I’m talking sour cream and canned green chiles.
Don’t worry about it being spicy. The green chiles add a wonderful depth of flavor without bringing much heat at all. Alongside the green chiles, a touch of sour cream adds just the right amount of tanginess. It’s absolutely delightful!
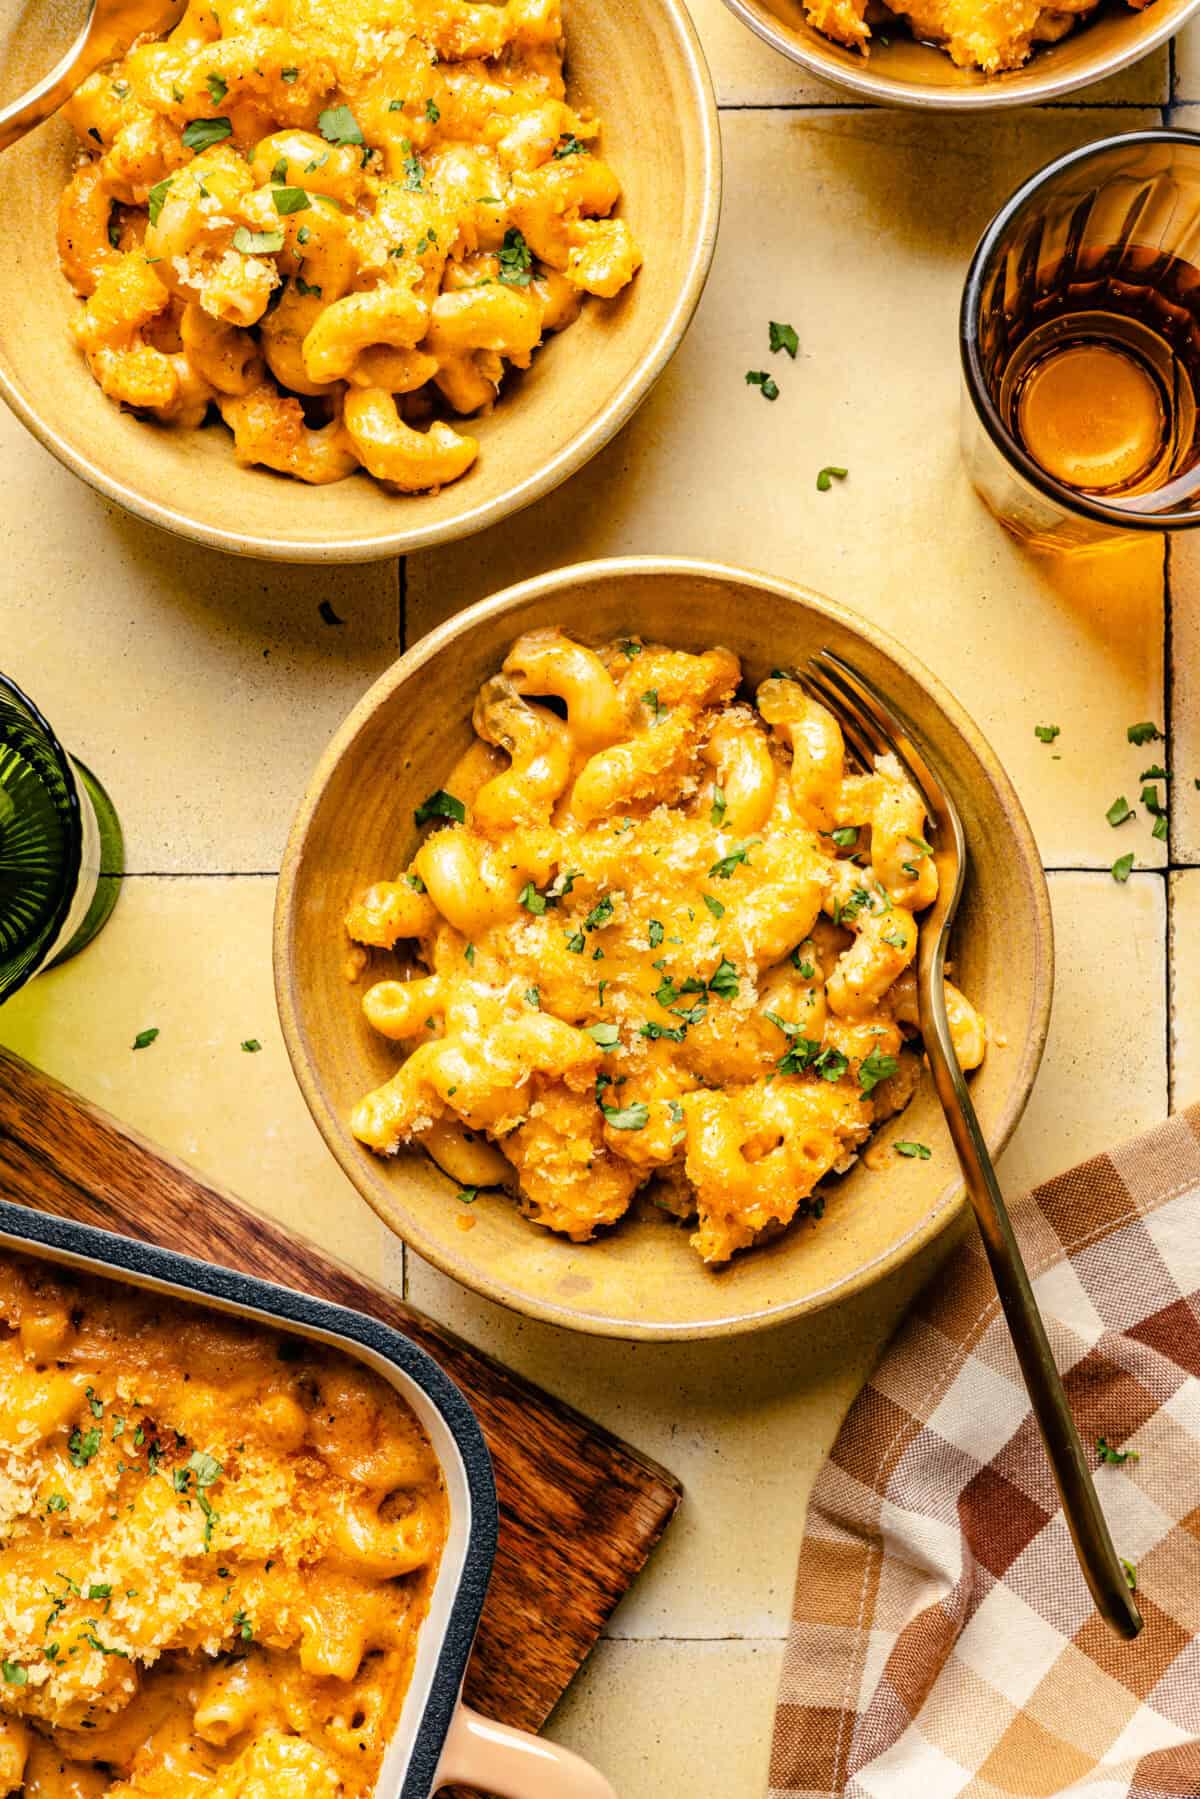
Ingredients:
- Unsalted Butter
- Shallot
- Garlic
- All-Purpose Flour
- Whole Milk
- Water
- Corkscrew or Elbow Pasta
- Sharp Cheddar Cheese
- Sour Cream
- Diced Green Chiles
- Kosher Salt
- Chili Powder
- Paprika
- Freshly Ground Black Pepper
- Freshly Grated Nutmeg
- Breadcrumbs
- Fresh Cilantro Leaves
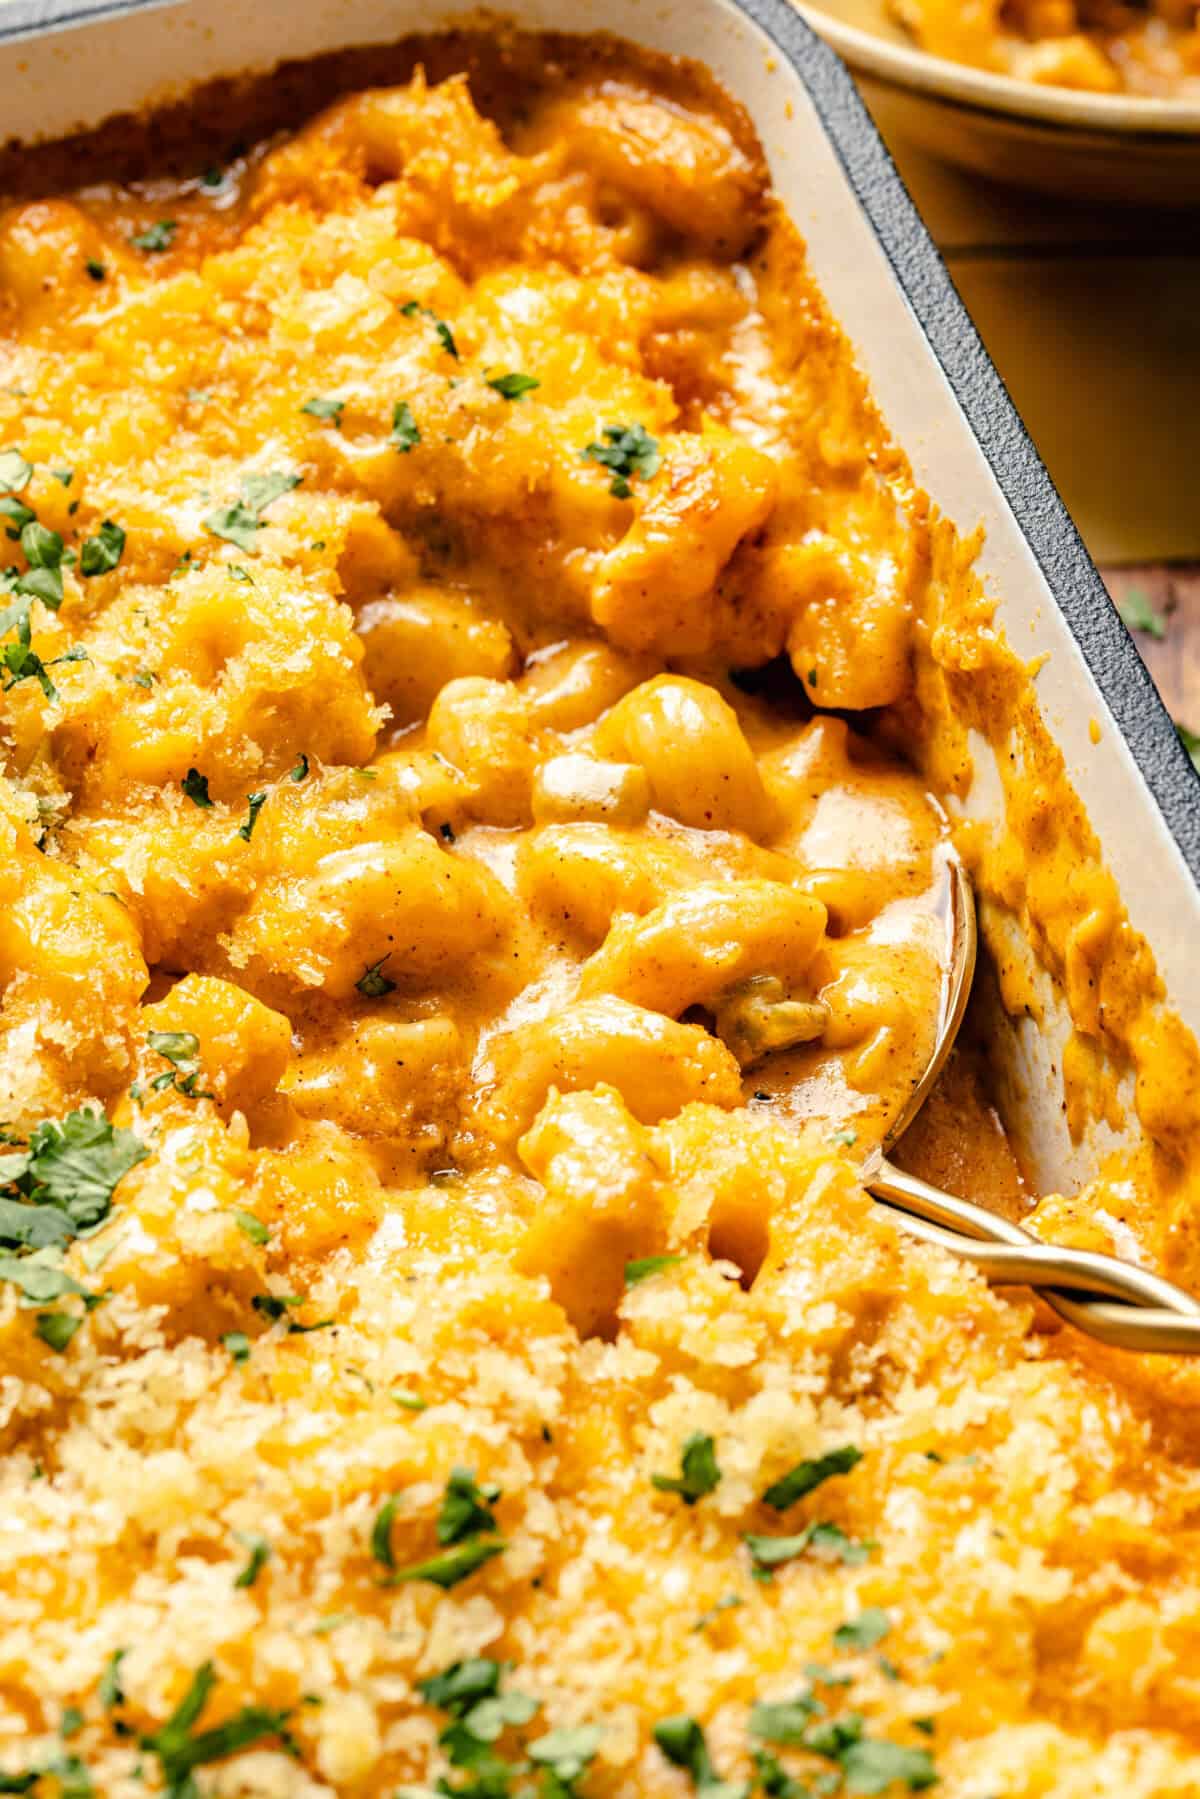
Recipe Step-by-Step:
Step One: Preheat the Oven
Preheat the oven to 425°F.
Step Two: Sauté the Veggies
Melt 4 tablespoons butter in a large pot or Dutch oven over medium heat. Add the shallots and garlic and cook, stirring, until translucent, 1 to 2 minutes. Add the flour and cook, stirring, about 1 minute.
Step Three: Cook the Pasta
Whisk in the milk and water. Add the uncooked pasta and bring to a boil over medium heat, stirring occasionally, 7 to 8 minutes. Continue to cook until the pasta is al dente and has absorbed most of the liquid, 3 to 4 minutes more.
Step Four: Add the Cheese and Seasonings
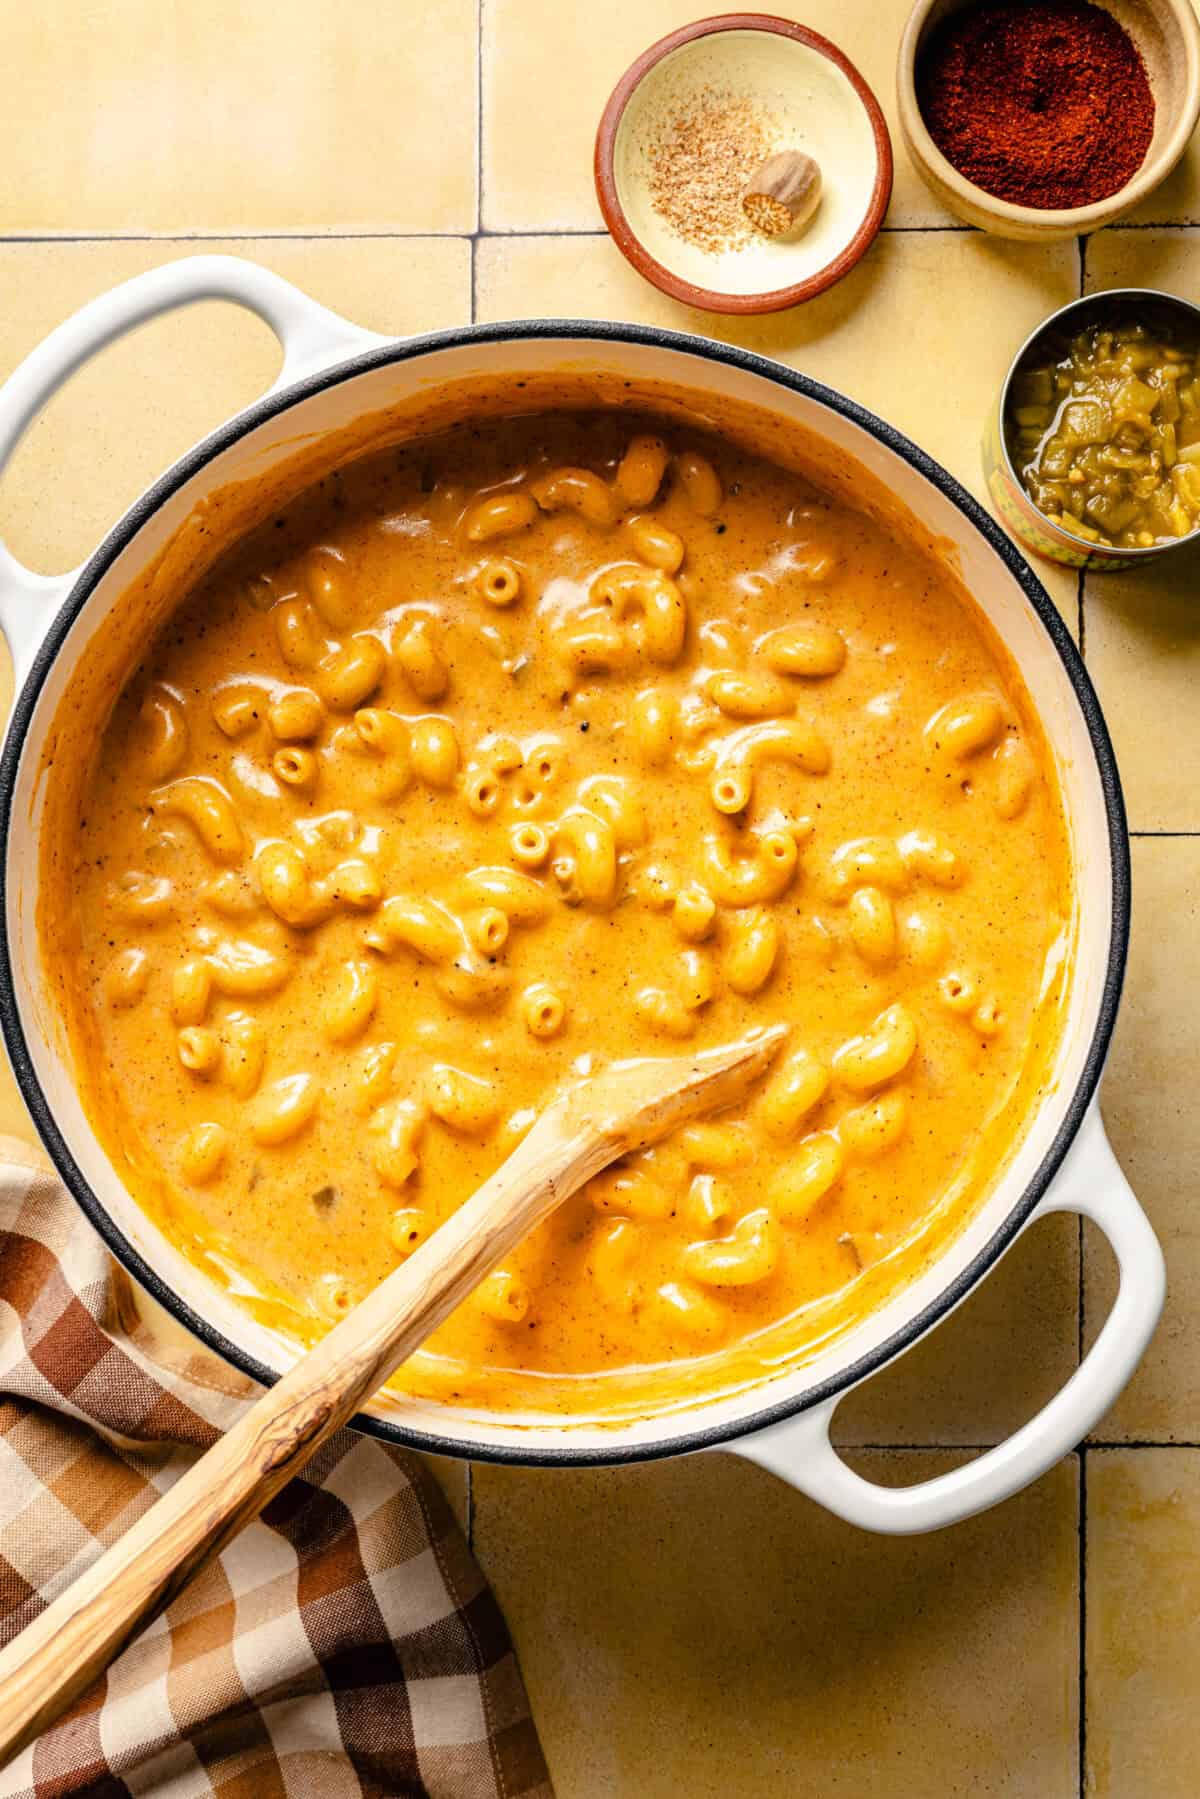
Remove from heat and stir in 5½ cups of shredded cheese, sour cream, green chiles, salt, paprika, chili powder, black pepper, and nutmeg. Season to taste with more salt, if desired.
Step Five: Transfer the Pasta
Transfer the mac and cheese to a casserole dish and top with the remaining 1/2 cup of shredded cheese.
Step Six: Add the Panko
Melt the remaining 2 tablespoons butter in a small bowl in the microwave, about 30 seconds. Add the panko breadcrumbs and stir until well combined, then sprinkle evenly over the mac and cheese.
Step Seven: Bake
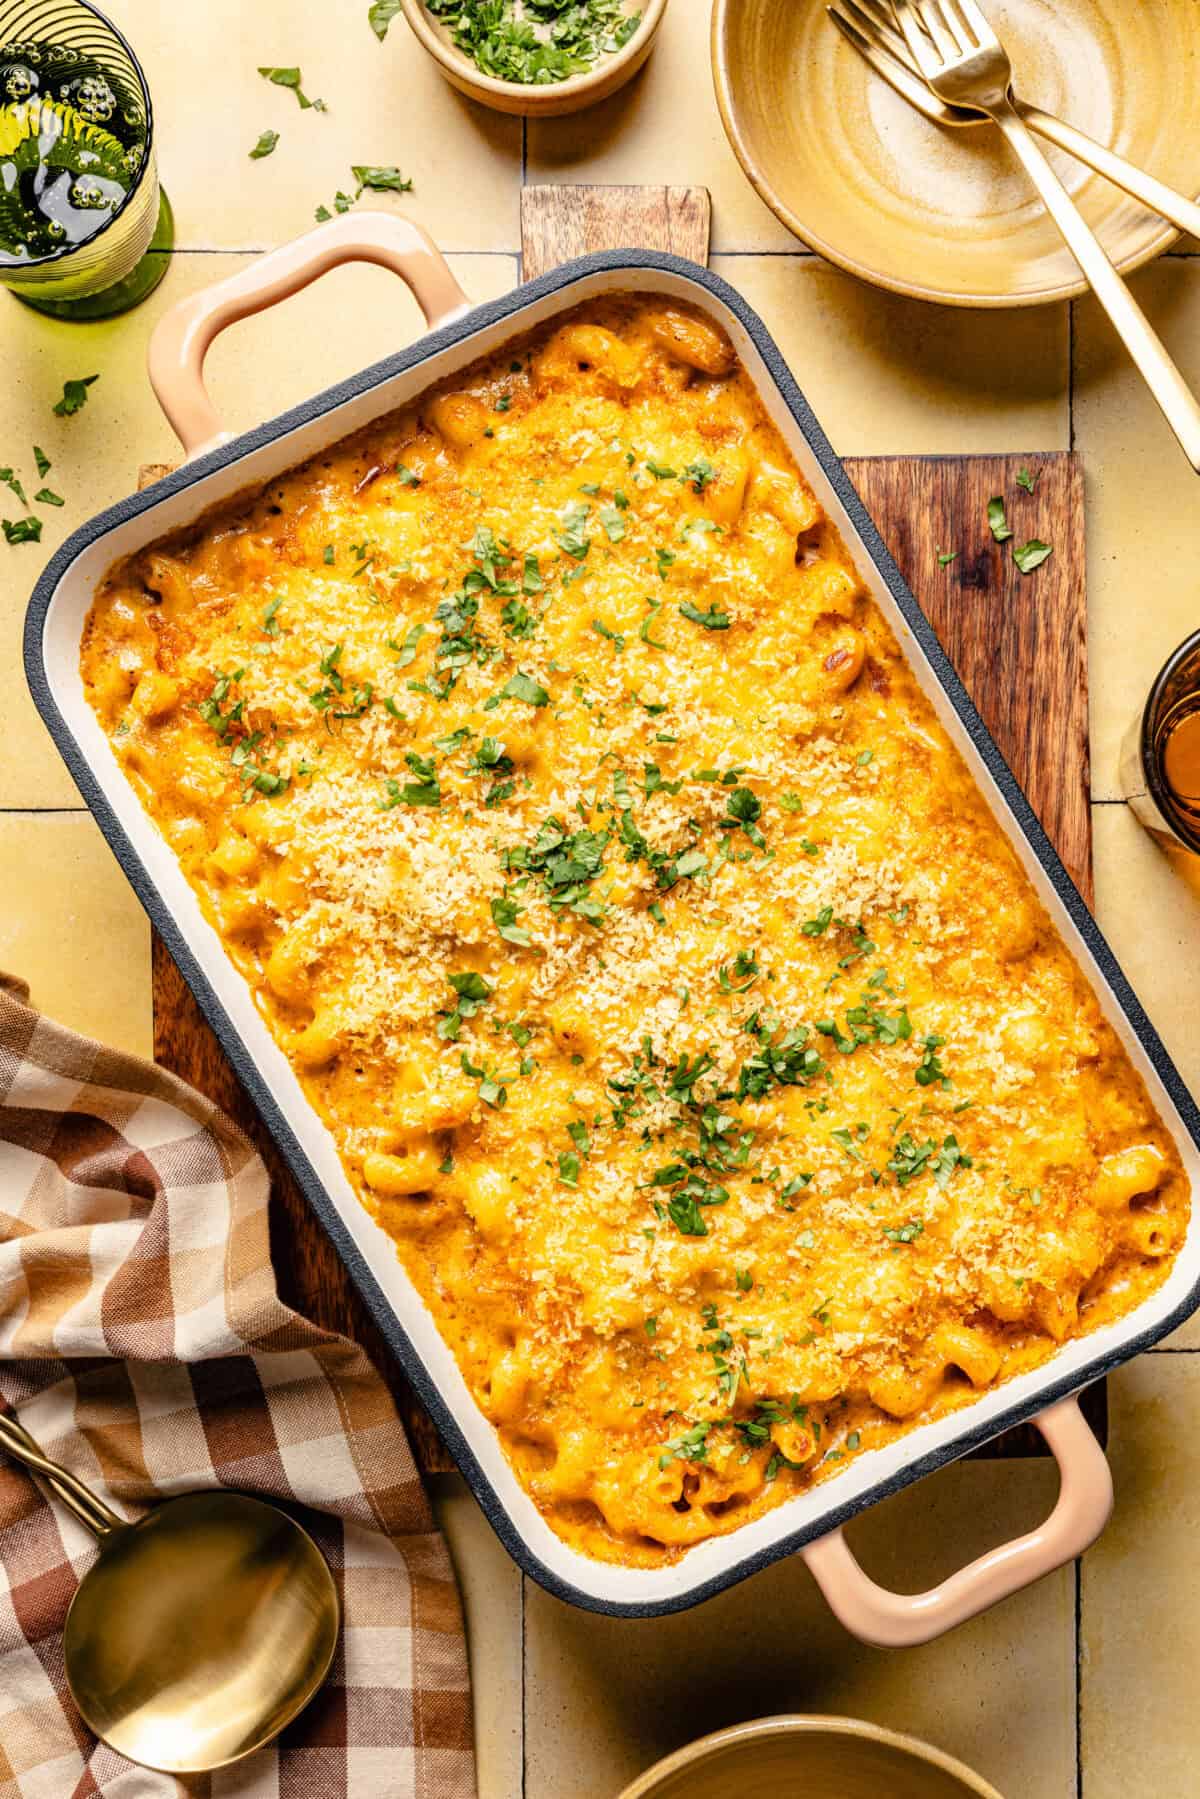
Transfer to the oven and bake, uncovered, until the cheese and panko are golden brown, 12 to 14 minutes, being careful not to burn.
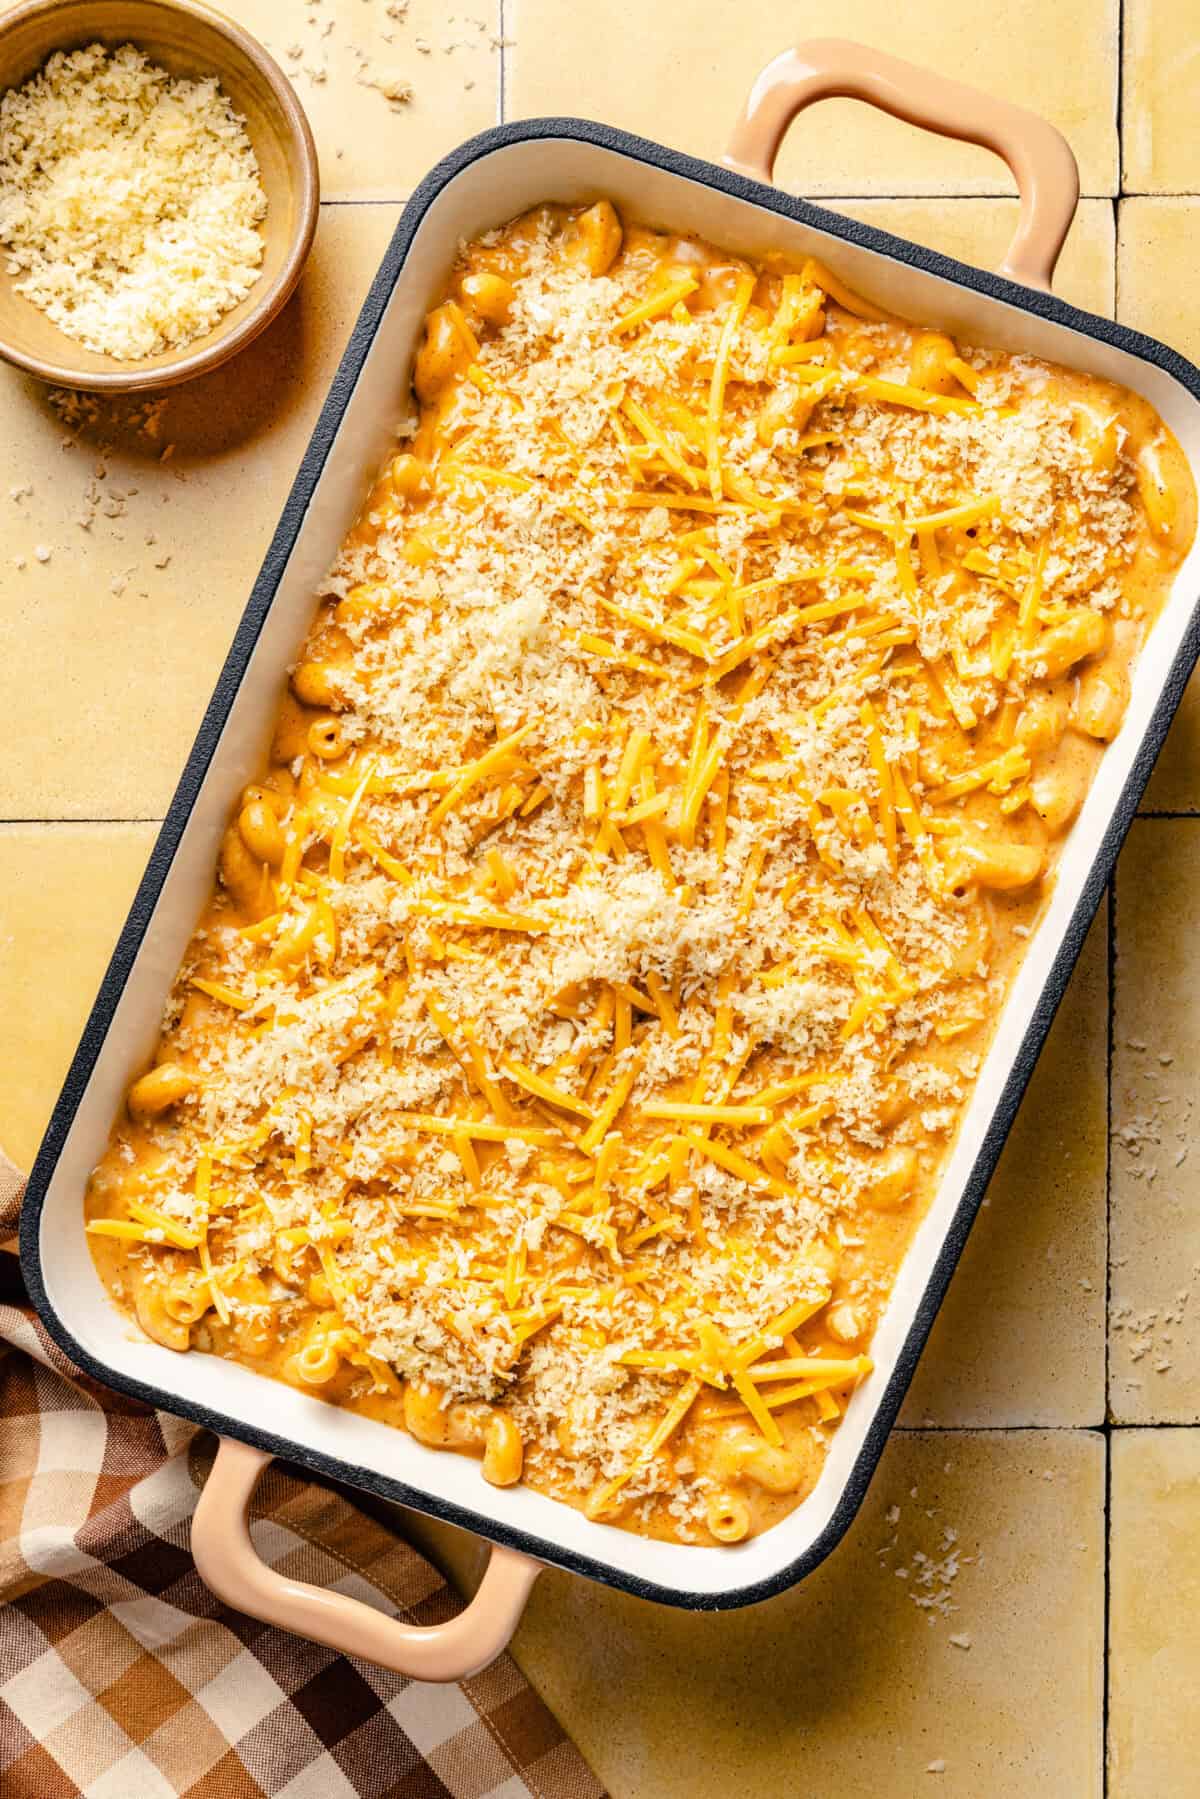
Step Eight: Remove, Cool, and Serve
Remove from the oven and let cool for 5 minutes before serving. Garnish with freshly chopped cilantro (if using), serve, and enjoy!
Yes! This is a great make-ahead side dish, especially for the holidays. Prepare the mac and cheese through adding the panko topping, then cover tightly and refrigerate until ready to bake. When you’re ready to serve, remove the covering and bake at 425°F until heated through and the topping is golden brown. Since it will be starting cold, it may need a little extra time in the oven.
Not at all! The canned green chiles add a wonderful depth of flavor without making the dish overly spicy. Even canned hot green chiles tend to be relatively mild, so don’t let that deter you! And if you are extra worried, you can always just use one can, but trust me here.
Yes! Use your favorite gluten-free short pasta and substitute a measure-for-measure gluten-free all-purpose flour and gluten-free panko breadcrumbs. Keep in mind that gluten-free pasta can have a slightly different texture, so watch it closely as it cooks.
Leftovers aren’t likely with this one, but store any in an airtight container in the refrigerator for up to 3–4 days. Reheat in the oven or microwave until warmed through.
I can’t wait to see this Texas-Style Mac and Cheese on your Friendsgiving and Thanksgiving tables! Comment below once you give it a try!
For More Thanksgiving Side dish Inspiration:
Roasted Calabrian Chili Green Beans with Crispy Shallots
Plus, even more recipes in my Thanksgiving Central!
Texas-Style Mac and Cheese
Ingredients
- 6 tablespoons unsalted butter, divided
- 1/4 cup very finely diced shallot, about 1 shallot
- 3 garlic cloves, minced
- 1/4 cup all-purpose flour (sub 1:1 gluten-free flour for gluten free)
- 3 cups whole milk, warmed
- 3 cups water
- 16 ounces corkscrew or elbow pasta (sub gluten-free pasta for gluten free)
- 24 ounces shredded sharp cheddar cheese, such as Tillamook, divided (about 6 cups)
- 1/2 cup sour cream
- 2 4-ounce cans diced green chiles, undrained
- 2½ teaspoons kosher salt, plus more to taste
- 2 teaspoons chili powder
- 1½ teaspoon paprika
- 1/2 teaspoon freshly ground black pepper
- 1/4 teaspoon freshly grated nutmeg
- 1/2 cup panko breadcrumbs (sub gluten-free panko for gluten free)
- 1 tablespoon finely chopped cilantro leaves optional for garnish
Instructions
- Preheat the oven to 425°F.
- Melt 4 tablespoons butter in a large pot or Dutch oven over medium heat. Add the shallots and garlic and cook, stirring, until translucent, 1 to 2 minutes. Add the flour and cook, stirring, about 1 minute.
- Whisk in the milk and water. Add the uncooked pasta and bring to a boil over medium heat, stirring occasionally, 7 to 8 minutes. Continue to cook until the pasta is al dente and has absorbed most of the liquid, 3 to 4 minutes more.
- Remove from heat and stir in 5½ cups of shredded cheese, sour cream, green chiles, salt, paprika, chili powder, black pepper, and nutmeg. Season to taste with more salt, if desired.
- Transfer the mac and cheese to a casserole dish and top with the remaining 1/2 cup of shredded cheese.
- Melt the remaining 2 tablespoons butter in a small bowl in the microwave, about 30 seconds. Add the panko breadcrumbs and stir until well combined, then sprinkle evenly over the mac and cheese.
- Transfer to the oven and bake, uncovered, until the cheese and panko are golden brown, 12 to 14 minutes, being careful not to burn.
- Remove from the oven and let cool for 5 minutes before serving. Garnish with freshly chopped cilantro (if using), serve, and enjoy!
Nutrition
Nutrition information is automatically calculated, so should only be used as an approximation.
Food Photography and Styling by Eat Love Eats.


My family LOVES this recipe and requests it for holidays every year!
If I want to make this ahead of time can I just do steps 1-7 and then put in fridge before baking?
Yes, that should work! You may just need to bake it a little longer so that it’s warmed all the way through.
Would I leave off the Panko until right before baking? Is it best to just prep in the morning and then bake in afternoon or could I do it night before?
This dish has wonderful flavor. The chiles give it a great kick! Next time, I plan to add more milk and sour cream to make this dish a little more creamier.
Can you substitute regular pasta or does it change the cooking instructions?
You can use regular elbow pasta!
This looks amazing! l’m making this for a party. Does this recipe taste better with gluten free pasta or regular pasta? None of the guests have gluten allergies.
I mean regular pasta is always best to make sure it stays nice and starchy
ALWAYS a favorite! This Mac N Cheese is my “go to” for meal trains, family gatherings and most requested Texas dish. Thank you Alex!
Is this leftover friendly? If so, how long can it keep in the fridge?
Hi! yes it is great for leftovers, and keeps for about 3 days.
Easy and delicious! Family favorite.
Wow, so easy and so good! The panko topping was perfectly crispy on top of the creamy Mac and cheese. This will be on repeat in our house.
I love this recipe! So delicious! I usually make it and then serve it, however, is it possible to may in advance and then just bake before you serve it? Maybe make it in the morning–pop in fridge then bake right before you eat later that day?
Absolutely! Complete steps 1-6. Cover with saran wrap and press down onto the pasta so that it is completely suffocated and store in your fridge. Remove the saran wrap, add the breadcrumbs then pop it into the oven as directed!